If you read my Twitter last night, you will know that my friend Laura & I spent the latter part of the day 'getting our D.I.Y on' and making our own bulletin boards.
We've had this project in mind for weeks, but never found time to get together and actually do it.
But yesterday was the day.
What we needed:
a canvas board
a sheet of thin polystyrene board (or foam)
1 metre of the fabric of your choice
2 metres of matching ribbon
5 buttons (but we bought 6 just in case)
scissors
needle and thread
a hot glue gun (or craft glue)
a staple gun
To start off with, we bought a big blank canvas each from a craft store, along with 2 metres of ribbon and 6 buttons. Laura also bought her fabric at the craft store, but I already had a metre's worth of lovely pink damask fabric from an awesome craft store I found when I was in New Zealand last year.
Then we went to Clark Rubber and bought a thin sheet of polystyrene board each, so that when we pin stuff on the board, it doesn't just go straight through the canvas.
First things first: We used a hot glue gun to glue the polystyrene board to the canvas. (You might want to think about using craft glue though, because hot glue tends to erode the polystyrene if you leave it too long.)
A few blobs around the corners is all you need. Then, just attach it to the canvas board and use your hands to stick it down.
Then, cut your fabric to size, making sure you allow extra around the edges so that you can staple it at the back.
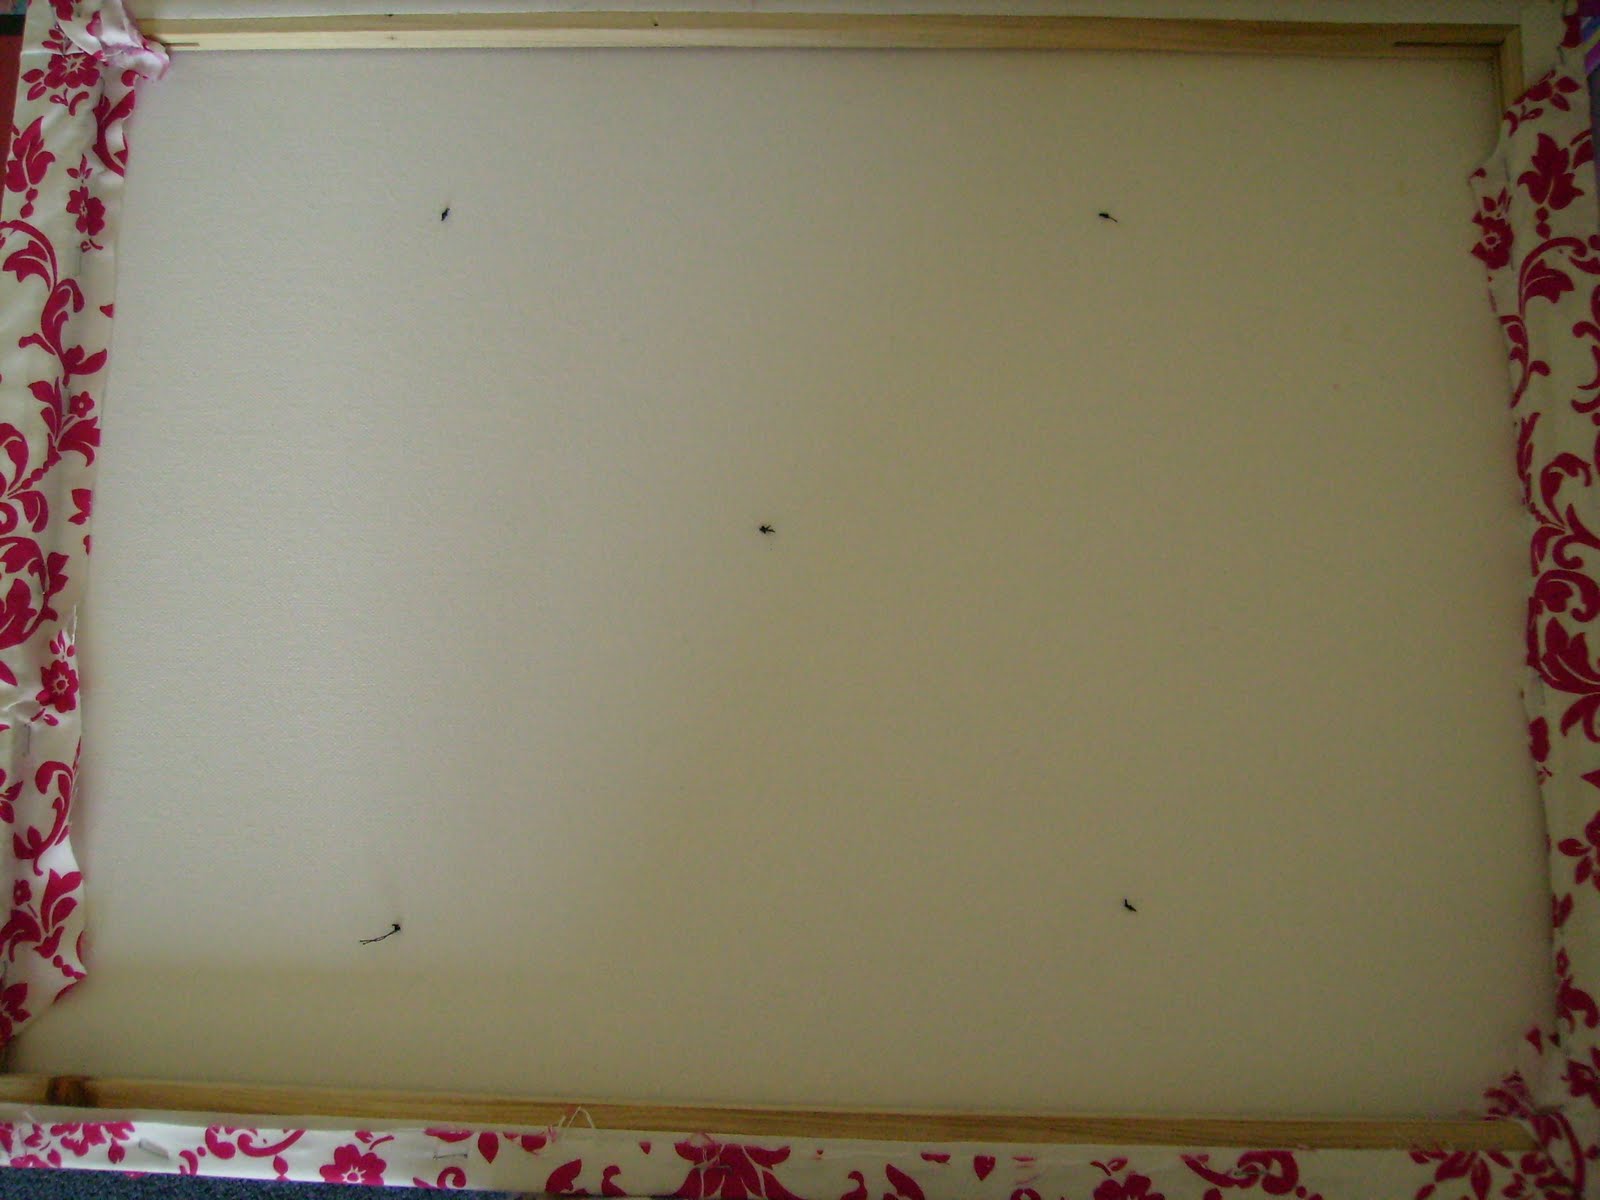
Grab the staple gun, and making sure the fabric is kept taut across the front of the canvas, pull the fabric around the edge of the canvas frame and staple at the back, working one side at a time.
When the fabric is securely attached, grab the ribbon and play around with different methods of attaching it. (We went for the diamond shaped pattern, but we had to play around with it a lot before we got it perfect)
Use pins to fasten the ribbon on the edges of the board if you're like me and don't have good enough spatial awareness to understand what your friend is trying to demonstrate to you.
Then, staple the ribbon at the back.
Once your design is done, pick the main points where you want to secure the ribbon, and use a needle and thread to sew a button onto the canvas.
If you're like me, and can't sew to save your life, get your friend to do it for you.
Like so...

Find out new things about your friend you've had for 5 years, such as she used to go to a patchwork and sewing class. Huh.
When you're done, take a minute and admire your D.I.Y handiwork. Then, find a place to hang it, and stuff photos, pictures, ticket stubs etc into it.
And there you have it! Your very own, custom made bulletin board!